


This guide will help you with the installation of Pimcore so that you can have a hands-on experience with it.
We will install Pimcore on your personal computer so you can try it out.
In a production environment, your Pimcore would be installed on a server
Step 1: Install Pimcore locally on your computer (Mac version)
Prerequisites:
You will need a Mac computer.
(This step is for Mac users only!! Windows users, skip to the next step!)A basic understanding of how the terminal works (actually, knowing how to copy and paste is enough)
Let's begin.
- In this installation, we will be using Docker, so if you already have Docker on your computer, skip a few steps. (If you don't know what Docker is, don't worry, you don't actually need that knowledge)
Remember, this guide is for people who are not developers!
Install Docker, but let's do it in a beginner-friendly way using a virtual machine so we don't mess up anything on the host.
In this guide, we'll install the necessary package management system and the Multipass program, which allows us to easily create a virtual machine for this Pimcore installation.
Open Terminal (You can find the terminal in the apps)
Copy these commands into the terminal in this order
With this command, we install the package manager (Homebrew):
/bin/bash -c "$(curl -fsSL https://raw.githubusercontent.com/Homebrew/install/HEAD/install.sh)"
With this command, we install Multipass (which is used to create a virtual machine):
brew install --cask multipass
Step 1: Install Pimcore locally on your computer (Windows version)
Navigate to https://multipass.run/install
Click “Windows” (under “Select OS to get started”)

Download Multipass by clicking “Download Multipass for Windows”
Wait until Multipass has downloaded and open the installer file by clicking on “multipass-1.12.0….exe” as seen in the picture. Depending on your browser (Chrome, Edge or Firefox), you might see your download for example in the top right corner. You can also open the installer by browsing to your downloads folder on your computer and double-clicking on the Multipass installer-file there.
Once you open the Multipass installer, you may see a prompt saying “Do you want to allow this app to make changes to your device”. Click “Yes”.
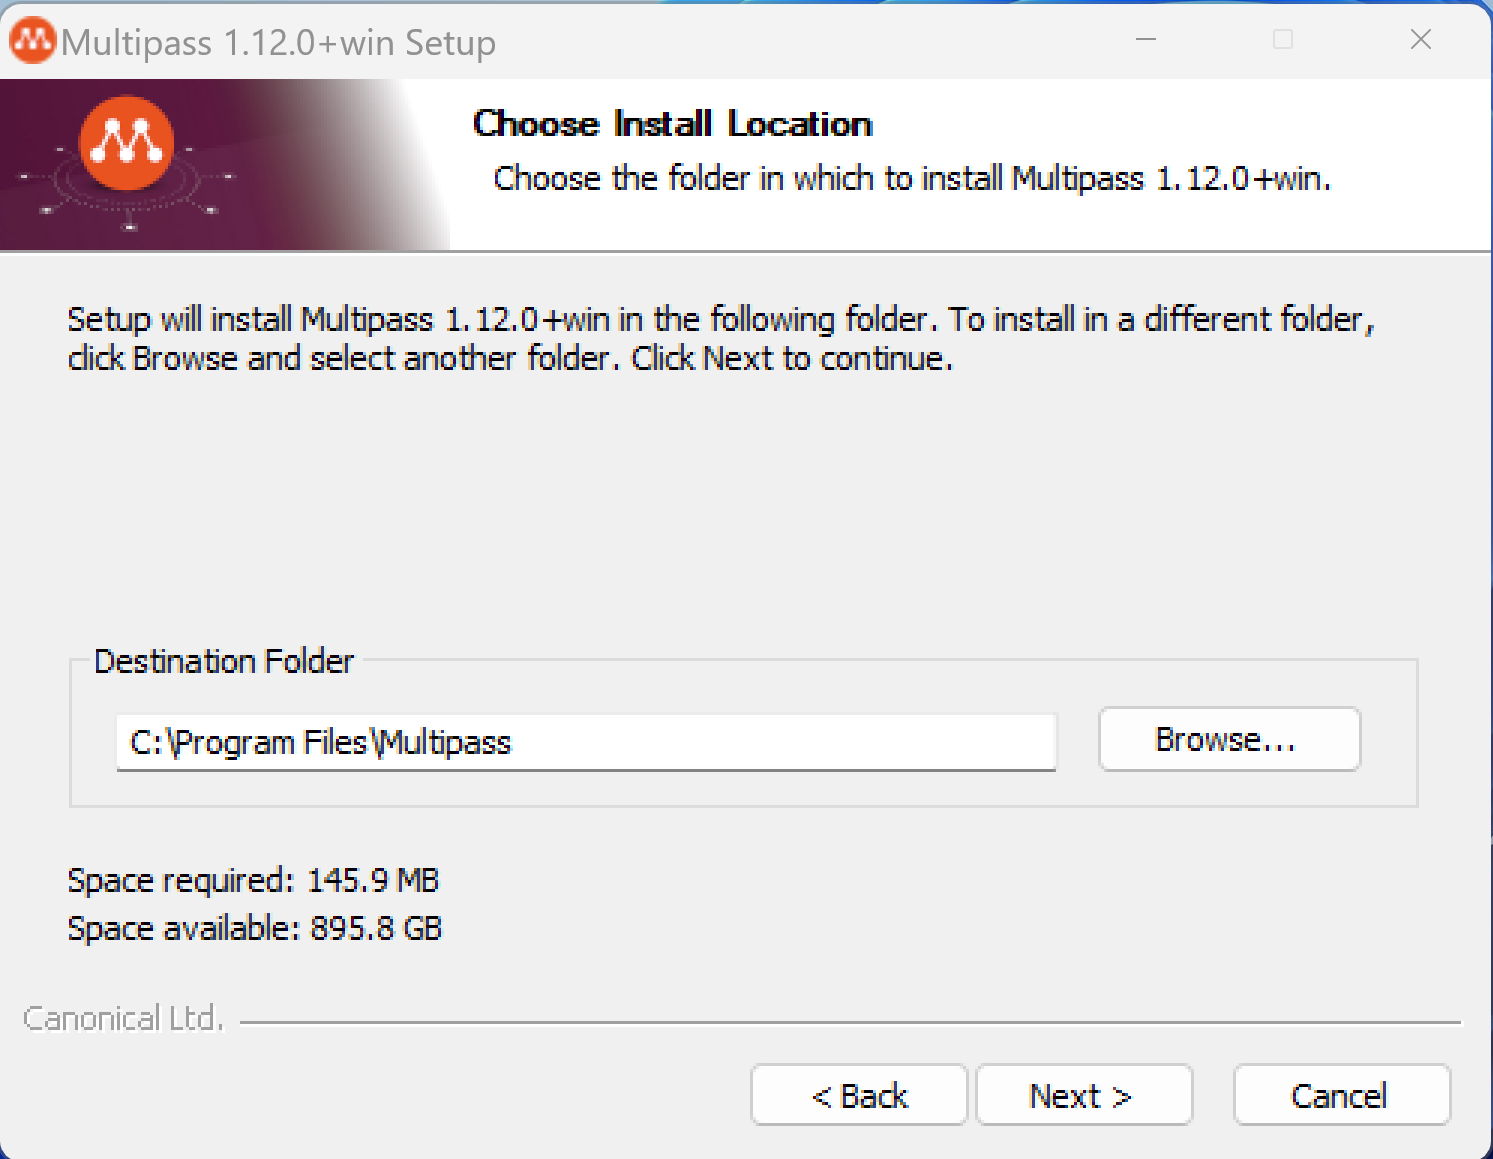
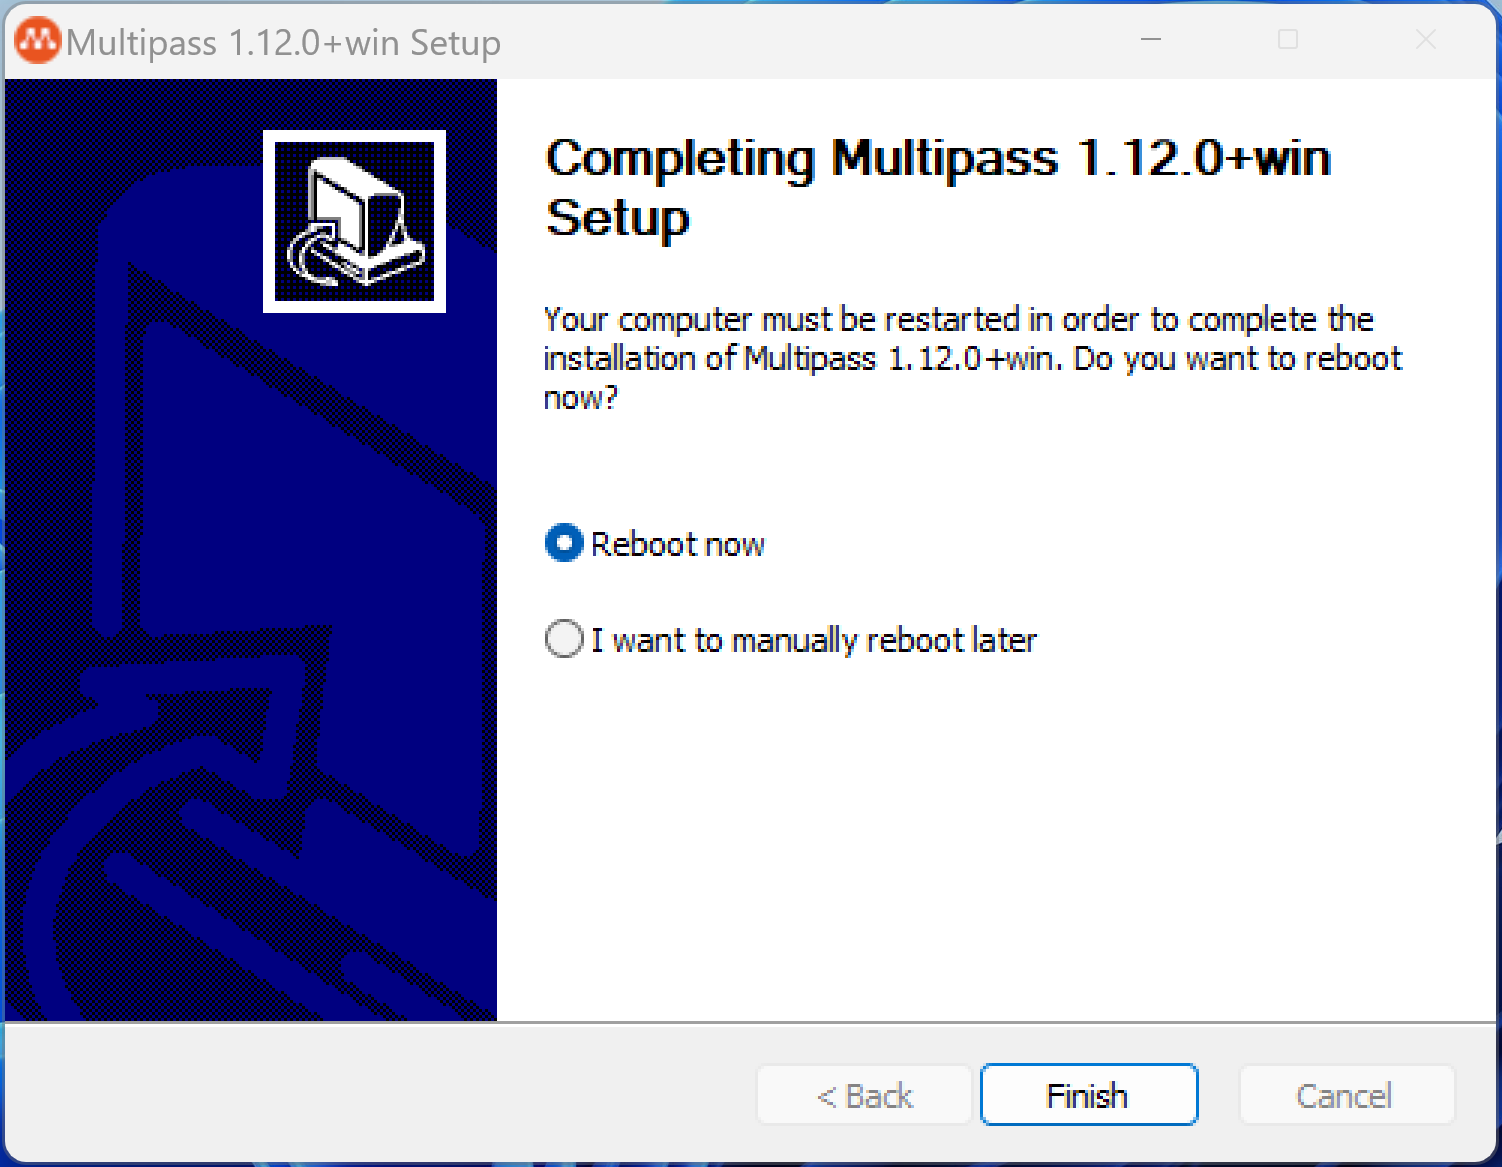
Go through the installer by clicking “Next”, “I Agree” or "Install" when prompted in each step. Don’t change any of the default settings. Make sure you’ve saved your work and are ready to let your computer restart after the final step of this installation.
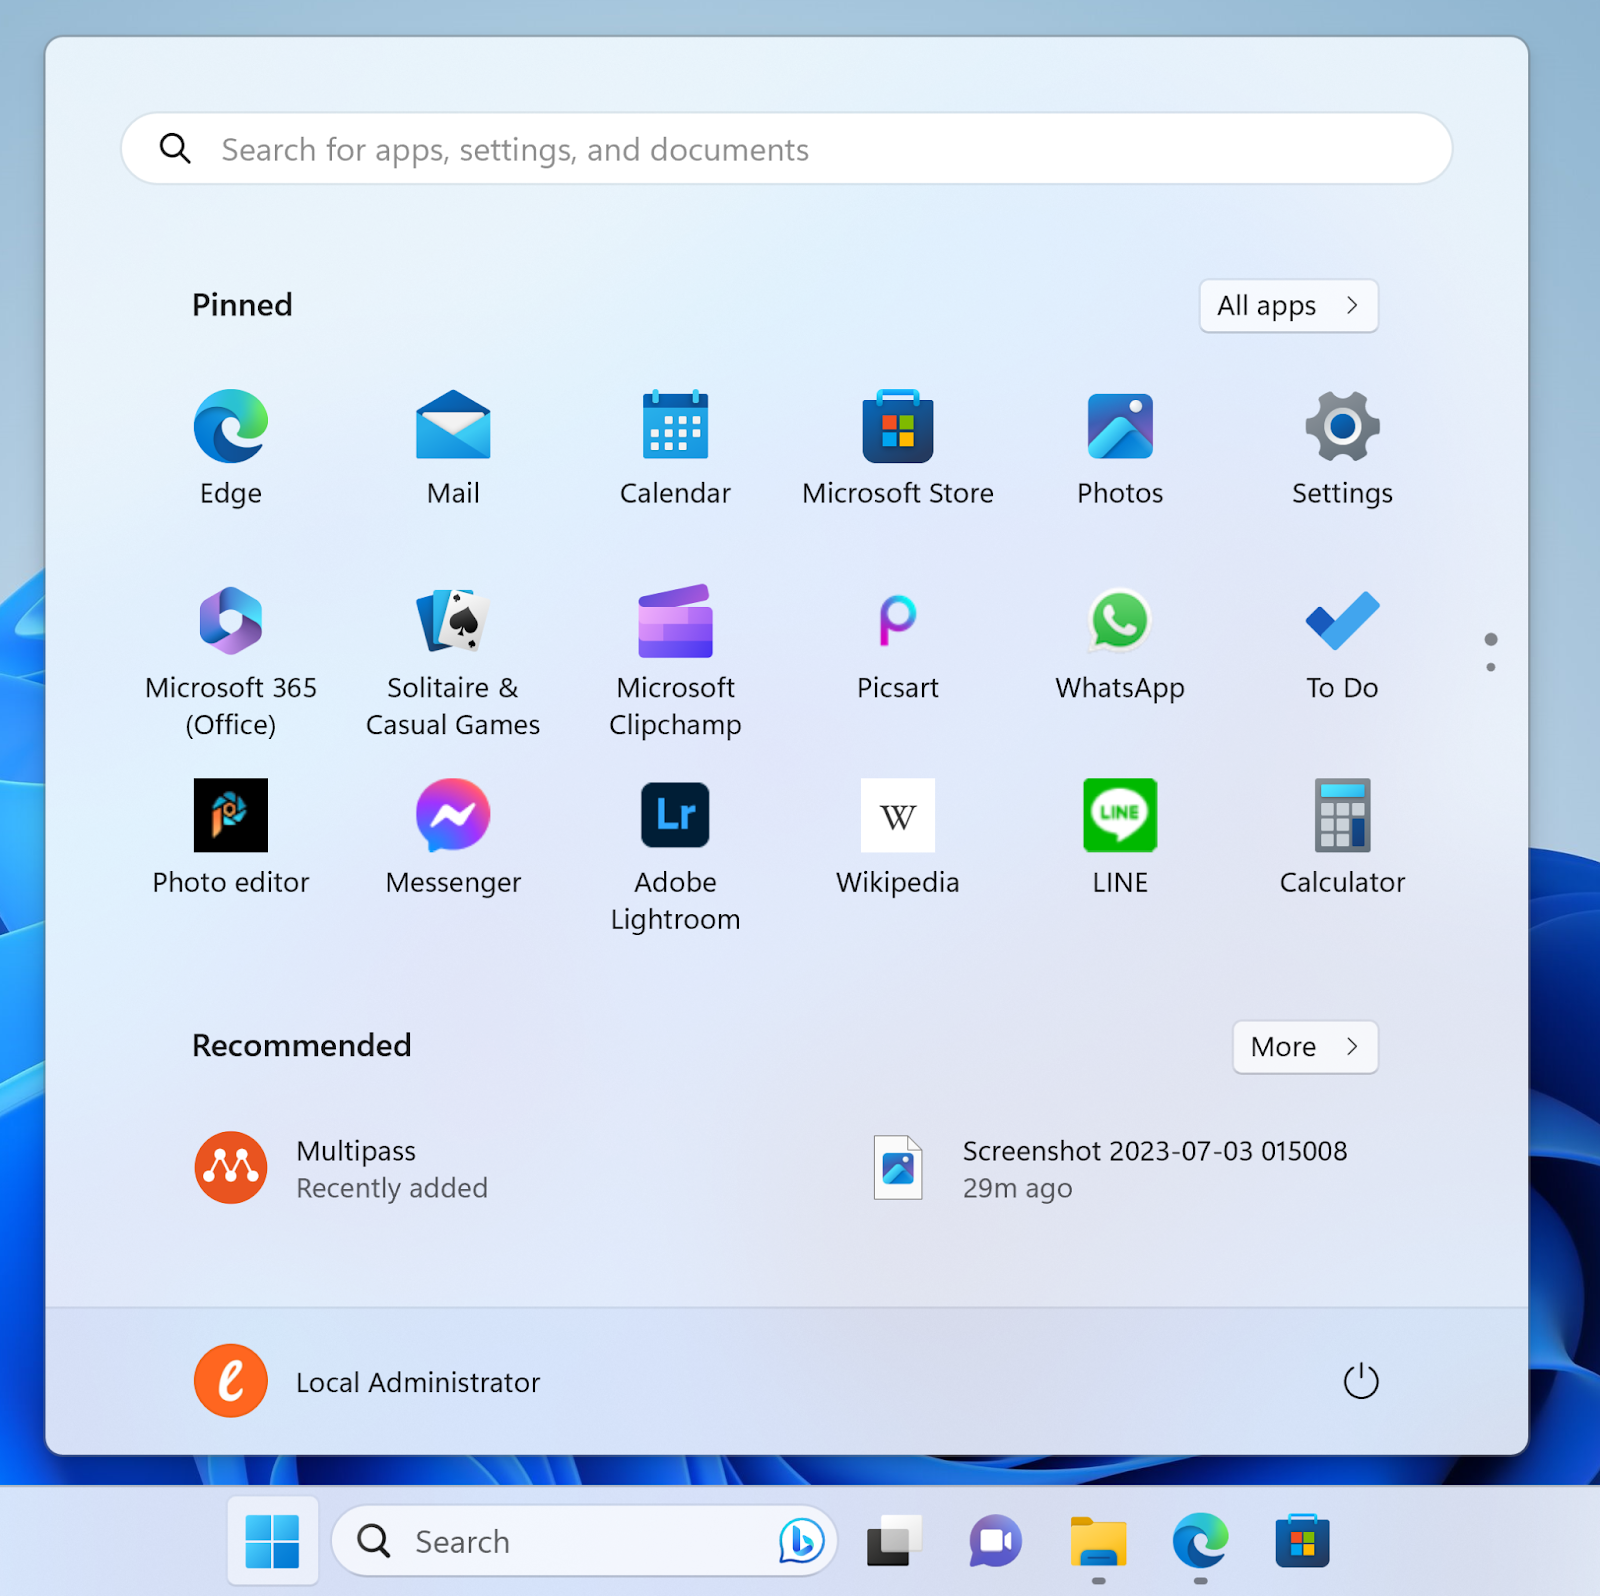
Once your computer has restarted, click on your Windows Start button on your computer and in the appearing seach bar type “cmd”. You will find an App called “Command Prompt”. Click it to open Command Prompt. Yours might look a bit different but the same instructions apply.


From now on, Windows and Mac users follow the same instructions!
multipass launch docker
Let's test if the virtual machine and Docker are working correctly:
Log in to the virtual machine:
multipass shell docker
Now you should be inside the virtual machine. Enter the following command:
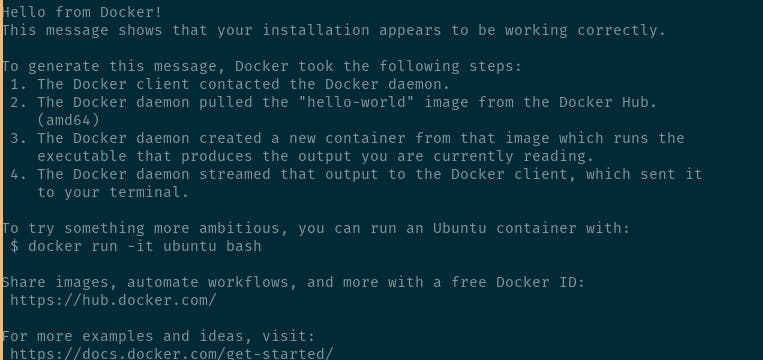
docker run hello-world
If you see this, then everything is working:
Now just a few more commands and you'll be able to test Pimcore 11.
Enter the following command:
docker run -u `id -u`:`id -g` --rm -v `pwd`:/var/www/html pimcore/pimcore:php8.2-latest composer create-project pimcore/demo my-project
Next, we'll go inside the correct folder:
cd my-project/
Now a few more precision-demanding things.
Enter the command:
echo "$(id -u):$(id -g)"
Write down what the terminal responded, for example, "1000:1000"
Open the docker-compose.yaml file by entering the following command:
nano docker-compose.yaml
Now, with this text editor, we need to change a few lines:
Find the sections under "php" and "supervisord" where it reads:
#user: '1000:1000' # set to your uid:gid
Edit the text by removing the hashtag symbol from the beginning of the lines.
You can move around with the arrow keys on your keyboard.

If the response you received earlier in the terminal was not "1000:1000", edit the response you received into this file to the point where it now reads "1000:1000".
After making the changes, we close the editor by entering the command using the keyboard:
ctrl + x
The editor will ask if you want to save the changes, respond by pressing the Y key on your keyboard.
y
The editor confirms one more time by saying:
File Name to Write: docker-compose.yaml
Confirm saving by pressing enter.
Now the fun part begins!
Enter command:
docker-compose up -d
Note! This may take a while, depending on your computer and internet connection.
Next command (AND THE LAST ONE!)
docker-compose exec php vendor/bin/pimcore-install --mysql-host-socket=db --mysql-username=pimcore --mysql-password=pimcore --mysql-database=pimcore
Now your computer is working its magic, just relax and wait patiently. Soon you'll be asked for an admin username and password. Choose whatever you want, even something like admin and admin.
And then everything is ready!
Just need to check one more thing :D
Enter command:
exit
You're back on your computer.
Now let's find out the address from which Pimcore 11 opens in the browser. Enter the command:
multipass list
You'll see a list of the virtual machines at the top. Here's an example:

You need the IP address that points to this newly created virtual machine in which Pimcore 11 is running.
Enter this IP address into your browser's URL field and that's it!
In this example, the address is 10.201.194.238, where you can see the demo site.
This is a public website built using Pimcore (Pimcore CMS).
Access Pimcore back-end/admin at 10.201.194.238/admin.
Step 3: Have some fun :D
If you are interested in an individual consultation or a more detailed demo, you can contact us at hello@loiki.fi